 EN
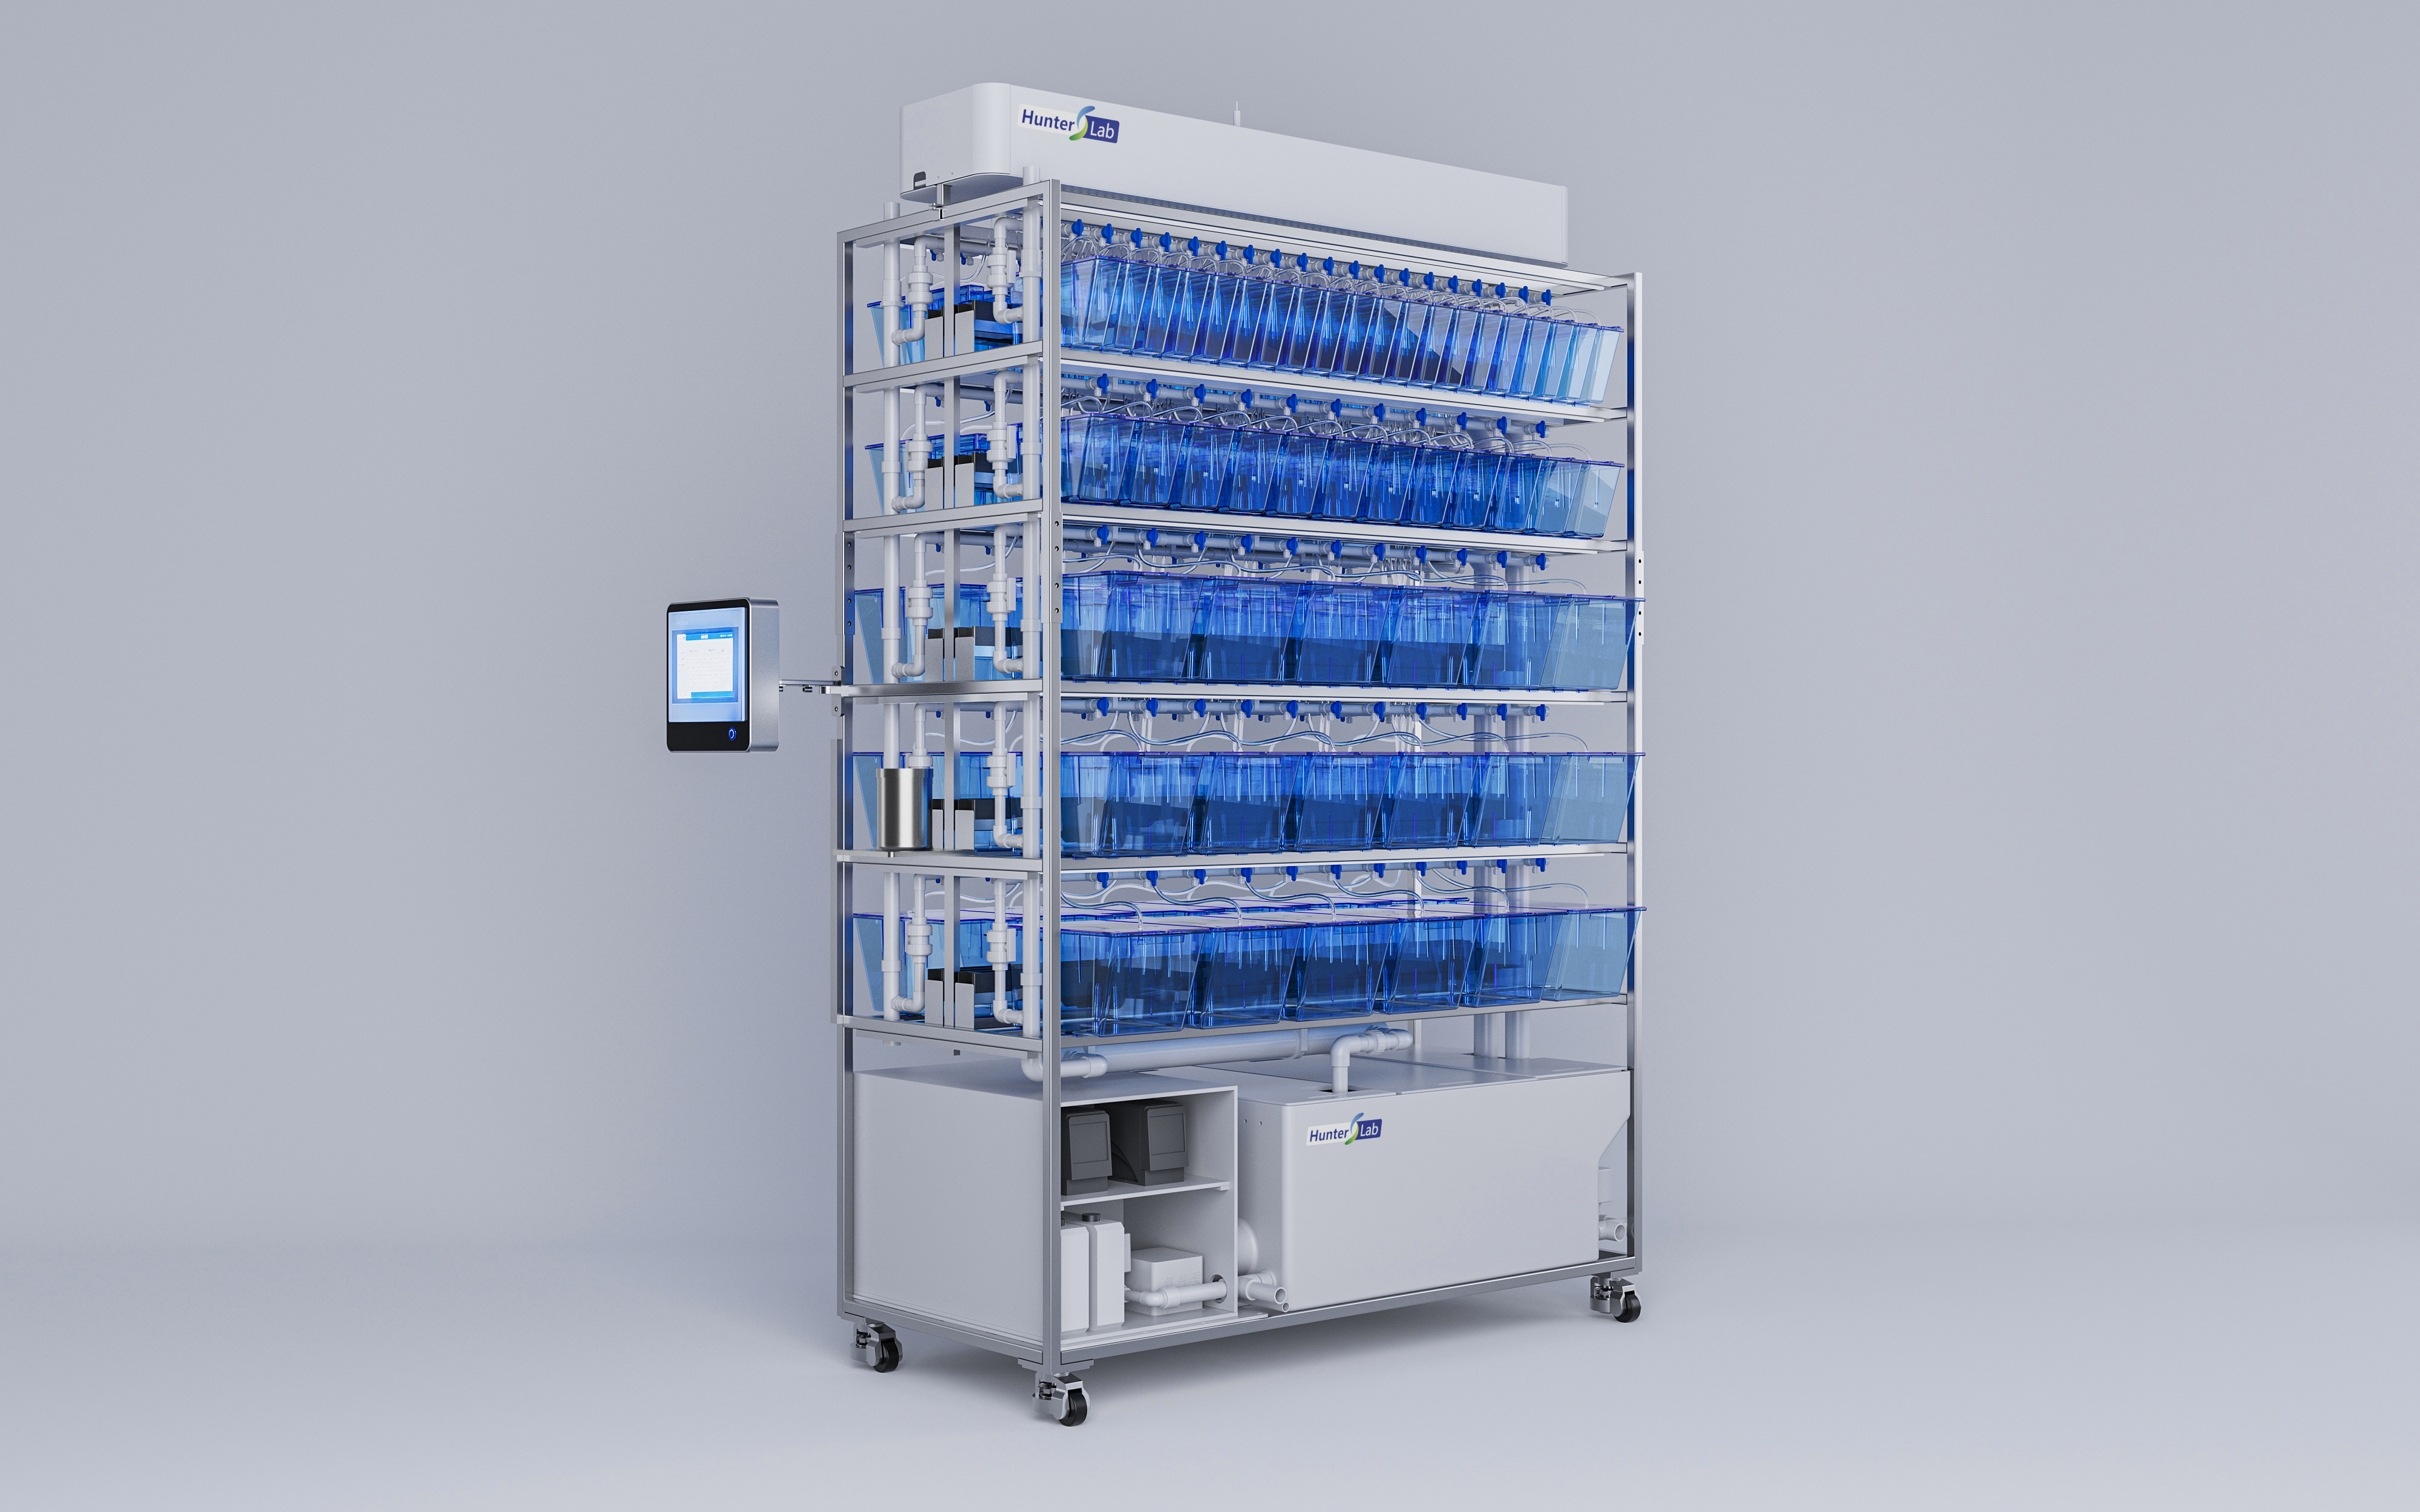
A Zebrafish Automated Feeding System only saves husbandry time when its feed path, settings, and cleaning routine remain dependable. In a busy research facility, a small buildup of feed residue or a gradual change in portion size can affect daily work long before it becomes an obvious equipment fault. The practical answer is a documented routine: inspect before feeding, flush and clean on schedule, verify calibration with the feed you actually use, and record what changed.
This guide is for facility staff who need a repeatable routine, not a one-off cleanup. Use the manufacturer instructions and your local animal-care SOP as the controlling documents; the checks below help turn them into a workable maintenance calendar.
Start with a maintenance plan, not a repair list
A Zebrafish Automated Feeding System has three linked jobs: it stores or accepts feed, meters a portion, and delivers that portion through a route that may include hoppers, augers, valves, tubing, nozzles, or a distribution manifold. Maintenance should therefore cover all three. Assign an owner for each shift, keep a dated log, and make “normal” visible through photos, reference weights, or test runs.
For each task, document the system zone, the material used, the result, and whether fish-room staff observed an unusual response. Those notes make it easier to tell mechanical drift apart from a feed-preparation, tank, or water-management issue.
Daily checks: protect feed flow and animal-room hygiene
Before the first programmed run, look at the feed reservoir and delivery route. Dry feed should be free-flowing; wet or live-feed preparations should match the system’s approved preparation method. Check lids, seals, fittings, and visible tubing for condensation, residue, cracks, kinks, or loose connections. Remove only material that your SOP allows staff to handle, then run the approved cleaning or rinse sequence before returning the unit to service.
- Confirm that the scheduled program, tank group, and portion setting match the day’s husbandry plan.
- Observe at least one delivery point during a normal run for delayed starts, uneven discharge, drips, or a blocked outlet.
- Check the controller display or event log for missed cycles, low-feed notices, motor errors, or communication alerts.
- Wipe external contact surfaces using the facility-approved method, working from cleaner areas toward dirtier areas.
- Record any manual intervention so the next operator knows whether a setting or component needs follow-up.
Daily inspection is also where biosecurity meets equipment care. Keep tools assigned to their intended system where possible, and avoid moving a contaminated cleaning tool from one rack or quarantine area to another. If a spill or unexpected residue occurs, pause the affected route, follow the local sanitation procedure, and verify a safe rinse before the next feed.
After feeding: flush the route before residue dries
Feed residue is a common source of narrowing, irregular portions, and microbial growth in a Zebrafish Automated Feeding System. A published automated-feeder workflow used a water flush followed by air after feeding, with a dedicated daily cleaning program. Treat that as a useful operating pattern, not as a replacement for your equipment supplier’s instructions.
Where your system supports it, run the approved post-feed flush immediately after the delivery cycle. The goal is to move remaining feed out of the tubing and nozzles while it is still easy to clear. Then inspect representative outlets for droplets, accumulated particles, or a route that failed to clear. If a line repeatedly requires manual attention, log the location and investigate the upstream cause instead of simply increasing the flush time.
Weekly maintenance: clean, inspect, and test the whole path
Set aside time each week for a controlled cleaning and functional check. Power down or place the system in its approved maintenance mode before opening guards or disconnecting components. Empty old feed according to your facility procedure, clean removable parts with compatible materials, and rinse thoroughly when the procedure calls for it. Chemical residue must not enter the fish system.
During the same session, inspect moving and electrical parts: hopper outlets, auger or dosing mechanisms, motors, connectors, sensors, mounting points, and cable strain relief. Listen for a new sound during a dry test or water-only test. A change in sound, cycle time, or motor behavior can be an early indicator worth recording.
| Area | What to check | Action if abnormal |
|---|---|---|
| Reservoir and hopper | Bridging, moisture, residue, lid seal | Clean under the approved SOP; review feed storage and preparation. |
| Tubing and nozzles | Cloudiness, deposits, leaks, restricted flow | Flush, clean, or replace according to the approved interval and observed condition. |
| Dosing mechanism | Consistent movement and repeatable output | Run a calibration check and inspect mechanical alignment. |
| Controller and alarms | Clock, program, logs, alert behavior | Correct configuration, document changes, and test before routine use. |
Calibrate portions whenever feed, settings, or hardware changes
Calibration is not a one-time commissioning task. Recheck it after changing feed type, particle size, moisture condition, hopper setting, motor movement, tubing, or distribution configuration. For a representative test, collect output from the selected route, measure it with the facility’s approved method, compare it with the intended portion, and adjust only one controlled variable at a time.
Published work on an automated zebrafish feeder describes setting delivery by adjusting the container opening and servo rotation, then checking distribution. Your own system may use a different mechanism, but the principle is the same: verify actual output, not only the programmed number. Repeat the test enough times to spot variation, then save the final setting, the feed batch, the date, and the operator in the log.
Set replacement intervals from condition and evidence
Consumable parts deserve a planned replacement interval, especially tubing, seals, filters, and components exposed to wet feed. One published feeder implementation reported replacing tubing every 12 weeks to keep that system’s lines reasonably clean. Your interval can be shorter or longer depending on feed formulation, cleaning method, room humidity, route length, and observed residue. Use inspection findings and delivery consistency to refine the local schedule.
Keep a small stock of approved spare parts and label replaced components with the date and reason. This makes it easier to recognize a pattern, such as one branch that soils faster than the rest or a seal that degrades after a particular cleaning process.
Use troubleshooting signals to avoid unnecessary downtime
When a delivery looks wrong, begin with a short, documented isolation sequence. Check whether the program fired, whether the reservoir had feed, whether the dosing mechanism moved, and whether the outlet discharged. Then compare the affected route with a route that performed normally. That sequence narrows the issue without jumping to a cause.
- Uneven portions: verify calibration, feed condition, and obstruction-free movement before changing the feeding plan.
- No output at one tank: inspect the route for a kink, connection problem, or clogged outlet and run the approved clean/test sequence.
- Repeated alarms: preserve the controller log, check power and communication connections, and follow the supplier escalation path if the alert persists.
- Visible biofilm or residue: take the route out of routine use, sanitize under the facility SOP, rinse as required, and confirm clean flow before release.
A simple schedule that supports smooth operation
For most facilities, daily observation, post-feed cleaning, a weekly functional check, and condition-based replacement create a strong baseline. Add a monthly review of logs, alarm history, spare-part use, and portion-test results. The review should answer four questions: Did every route deliver as intended? Did cleaning leave a clear path? Did calibration stay stable? Did staff see any trend that needs preventive work?
A Zebrafish Automated Feeding System runs smoothly when maintenance is treated as part of husbandry, not as a response to failure. Clear ownership, clean routes, verified portions, and useful records give the team a practical way to protect routine care while keeping the equipment ready for the next cycle.