
 EN
How Does a Zebrafish Microinjection System Improve Injection Accuracy?
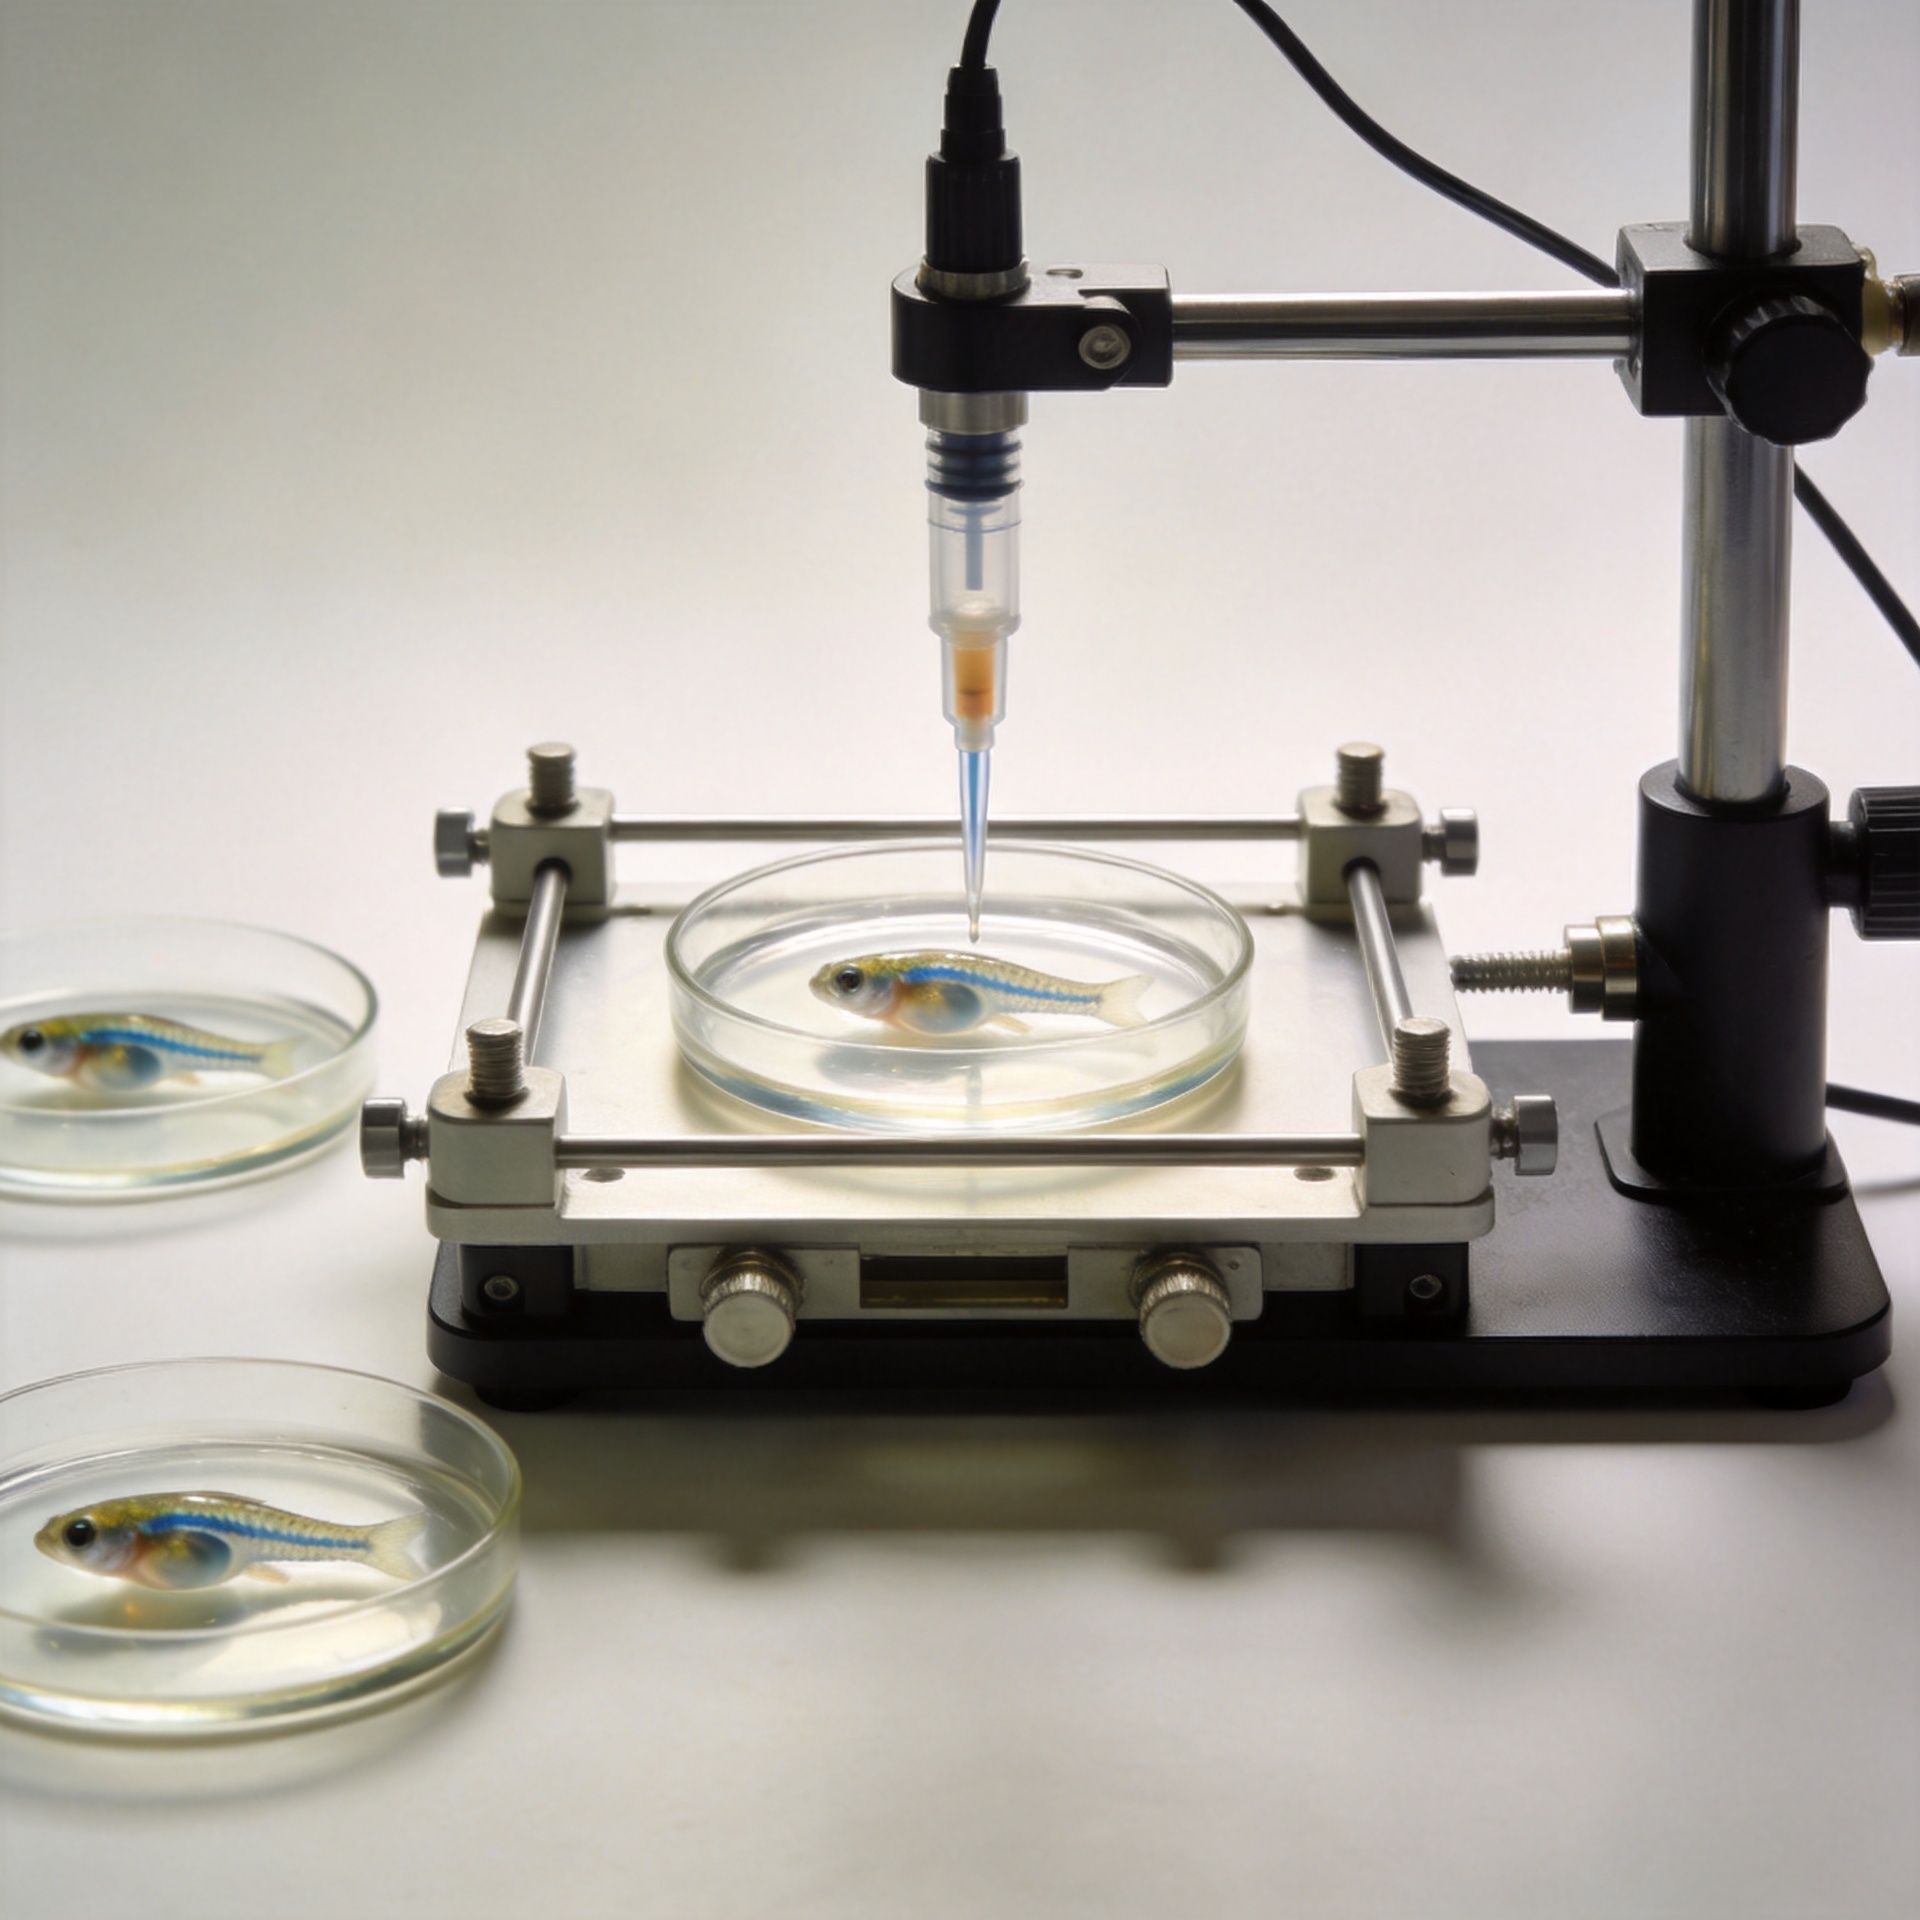
In zebrafish work, an injection can look acceptable at the microscope and still create avoidable variability later. A small change in where the tip enters, how the embryo is held, or how far the needle advances can change the delivered location and can increase embryo damage. A Zebrafish Microinjection System improves injection accuracy by turning those separate hand movements into a stable, repeatable setup: the embryo stays in a known position, the needle moves on a controlled path, and the operator can verify alignment before delivery.
After daily bench work with live embryos, the practical lesson is that accuracy is not one setting on a pump. It is the agreement between the microscope view, the embryo holder, the needle, the micromanipulator, and the injection routine. This article focuses on that agreement. It does not prescribe a universal injection volume or embryo-stage protocol, because those must be validated for the cargo, strain, and assay in your own lab.
What injection accuracy means in a zebrafish workflow
Injection accuracy has two parts. First is spatial accuracy: does the needle enter the intended region at the intended depth? Second is delivery consistency: does the injection happen with a repeatable pulse after the tip is positioned? A Zebrafish Microinjection System supports both, but it is useful to diagnose them separately. If droplets vary on a calibration surface, changing embryo alignment will not solve the problem. If droplets are consistent but embryos show off-target placement, the likely issue is positioning, needle alignment, or embryo restraint.
That separation matters when troubleshooting. Many labs initially blame the injector whenever results vary. In practice, a stable injector can still produce inconsistent outcomes when the embryo rolls, the plate sits at a different height, or the needle tip is not kept in the same focal relationship to the target. A good system makes each source of variation visible enough to control.
How a Zebrafish Microinjection System creates a repeatable geometry
A fixed reference for the embryo
Embryo orientation is the first reference point. Troughs, agarose grooves, or another validated holding method keep embryos from drifting as the needle approaches. When each embryo is presented in the same orientation, the operator does not have to reinterpret the target for every injection. This is especially helpful when a series requires the same entry side or a consistent relationship to the yolk.
The goal is not to immobilize embryos aggressively; it is to create a reproducible reference frame. Have you checked whether the last embryo in a row is presented at the same angle and height as the first? If not, the system may be precise while the workflow is not.
Fine control from the micromanipulator
The micromanipulator converts a broad hand motion into controlled movement along the approach path. Coarse adjustment brings the needle into the working area; fine adjustment lets the operator place the tip close to the target without pushing the embryo. That distinction is useful because the eye can confirm the tip-to-embryo relationship before the injection pulse is delivered.
For repeat runs, set a comfortable hand position and use the same approach direction. A commonly used starting geometry places the needle near a 45-degree angle to the injection surface, although the suitable angle depends on the plate, embryo orientation, tip shape, and target. The useful principle is consistency: once an angle gives clean access and a clear focal view, document it and keep it stable across the session.
Needle alignment under the microscope
Needle alignment is more than seeing the shaft. The tip, the embryo surface, and the target reference point should be visible in the same working view before penetration. Focus the tip first, then bring the embryo into the same focal plane or make a deliberate, repeatable focus transition. If the tip disappears as it reaches the embryo, depth judgments become guesswork and injection accuracy falls.
A simple bench check is to move the stage slightly and confirm that the needle remains where you expect relative to the embryo. If the relationship shifts unexpectedly, check stage stability, clamp tension, and whether the needle holder was disturbed during loading. This approach works reliably when the microscope and manipulator are securely mounted; a flexible bench or loose clamp can reintroduce motion that fine controls cannot correct.
Why calibration improves delivery consistency
Positioning answers where the needle goes. Calibration answers what happens once it is there. Before injecting embryos, verify that the needle is open and that the pulse produces a repeatable droplet on a suitable calibration surface. If the droplet size drifts, replace or re-trim the needle, recheck back pressure, and confirm that the material is prepared consistently. Do not compensate for an unstable delivery by driving the tip deeper into embryos; that can mask the real issue while increasing trauma.
We often see a useful correction at this stage: higher pressure does not automatically mean better delivery. A short, controlled pulse with a properly prepared tip may be easier to repeat than a forceful pulse that causes sudden movement or leakage. The correct settings are assay-specific, so keep a session log rather than copying values from an unrelated protocol.
A practical sequence for more accurate injections
- Standardize the plate. Use the same holder, groove geometry, and working position for the session.
- Inspect the needle. Confirm a clean tip and a stable droplet response before moving to embryos.
- Set the approach. Use the micromanipulator to establish a repeatable angle and approach direction.
- Align before penetrating. Bring the tip and target reference into a clear microscope view; avoid correcting course after entry.
- Inject, withdraw, and observe. Deliver the validated pulse, withdraw smoothly, and look for leakage, deformation, or an unexpected embryo response.
- Recheck at intervals. Recalibrate after a pause, a needle adjustment, or any visible change in droplet behavior.
Common signs that the system needs adjustment
| Observed pattern | Likely area to inspect | First corrective action |
|---|---|---|
| Target location varies from embryo to embryo | Embryo orientation or needle alignment | Reset holder position and verify the tip against a fixed reference. |
| Embryos move as the needle approaches | Restraint, stage stability, or approach force | Improve holding geometry and reduce abrupt manipulator movement. |
| Placement looks consistent but outcomes vary | Pulse delivery or sample preparation | Run a droplet calibration and review preparation consistency. |
| The tip is hard to see at the target | Focus and needle angle | Re-establish a clear focal relationship before continuing. |
Build accuracy into the whole workflow
A Zebrafish Microinjection System is most valuable when it supports a documented routine rather than a one-time adjustment. Record the plate setup, needle preparation method, microscope position, approach direction, and calibration check. Those details make it easier to train another operator and easier to identify what changed when a run behaves differently.
For teams handling many embryos, the gain is not simply faster movement. It is less decision-making at each embryo: the same visual reference, the same approach path, and the same check before delivery. That is how a well-set Zebrafish Microinjection System can improve injection accuracy while protecting the repeatability that downstream zebrafish experiments depend on.
FAQ
Does a micromanipulator guarantee accurate zebrafish injection?
No. A micromanipulator improves controlled movement, but accurate results still depend on embryo orientation, microscope focus, needle condition, and calibrated delivery.
Why is needle alignment important for injection accuracy?
Needle alignment lets the operator judge the entry point and depth relative to a consistent embryo reference. Without it, even a stable injection pulse can be delivered to the wrong location.
How often should injection calibration be checked?
Check before a session and again whenever the needle is adjusted, the system is paused, or droplet behavior changes. The right interval depends on the protocol and material.